Recipes
Sourdough Bread 101
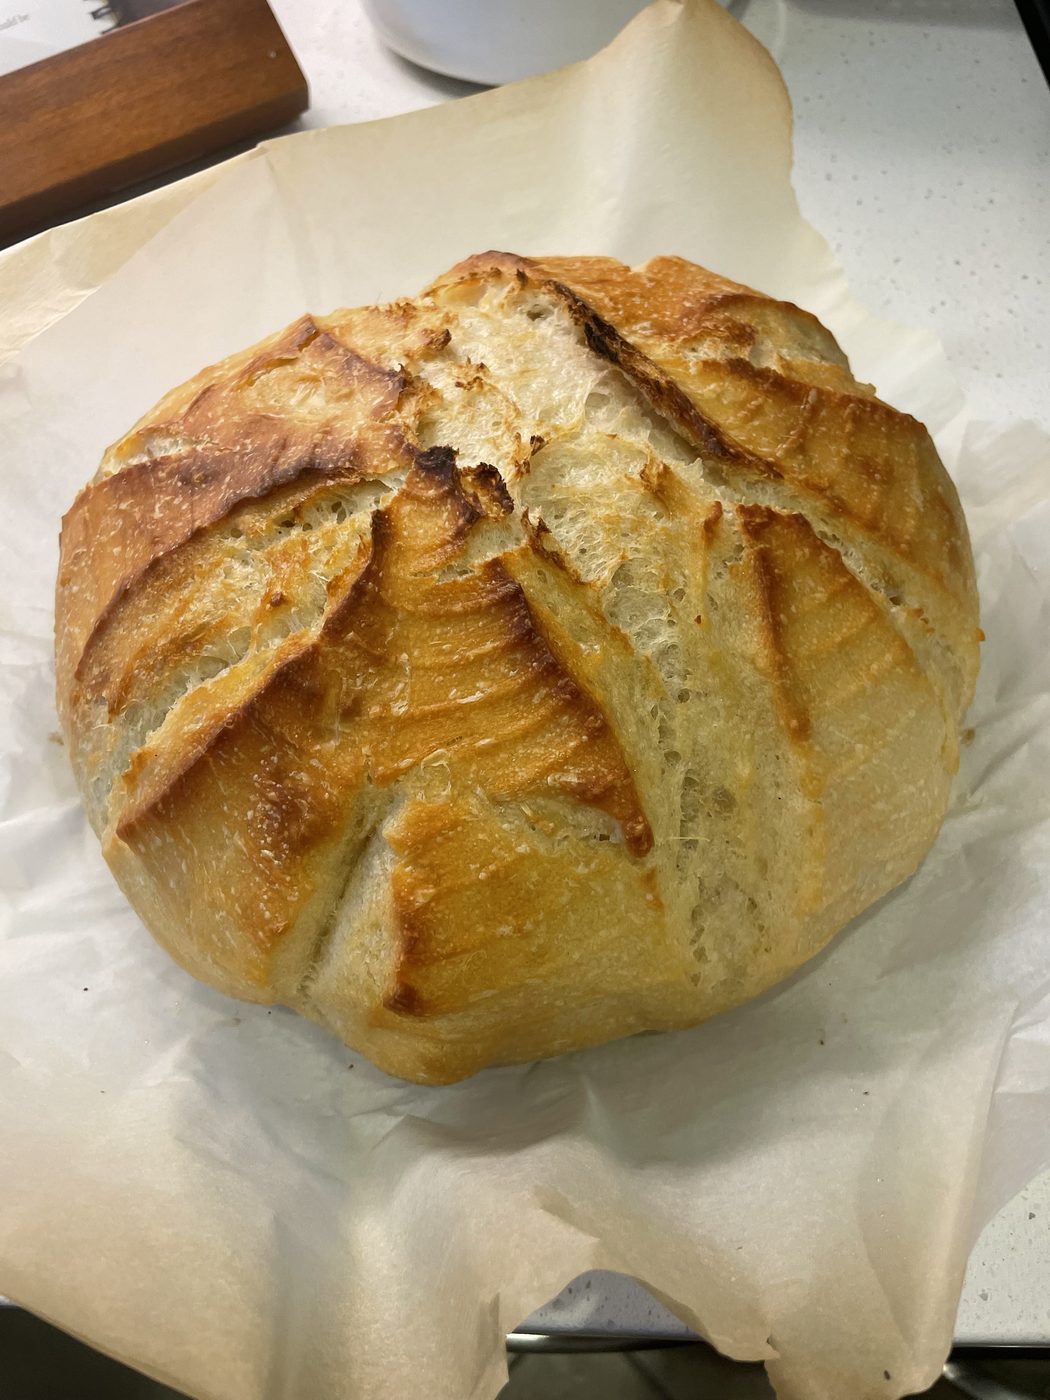
The Recipe
Ingredients (makes 2 loaves)
- 1080 g flour all-purpose recommended for your first bake
- 600 g water
- 192 g active starter plus extra to keep your starter going
- 24 g salt
- A sprinkle of cornmeal or semolina
- Olive oil optional
Directions
- Using a mixer, combine 1080 g flour and 600 g water. Let sit 1–4 hours to autolyse.
- Mix in 192 g starter. Let sit 30 minutes.
- Mix in 24 g salt. Let sit 30 minutes.
- First round of stretch and folds (4 stretch-and-folds = 1 "round"). Rest 30 minutes.
- Second round of stretch and folds. Rest 45 minutes.
- Final round of stretch and folds. Rest 1.5 hours.
- If the stretches are getting difficult, split that 1.5 hours into two 45-minute periods to space the stretches out.
- Cut the dough into two halves and shape each into a ball.
- Place each ball in a banneton or bowl lined with a lightly flour-dusted tea towel. Cover with the excess towel and refrigerate ~12 hours (overnight).
- Preheat the oven to 500°F with the Dutch oven inside, for one full hour.
- Lay out parchment paper and sprinkle cornmeal in the center. Place the dough ball on the cornmeal.
- Score the dough with a bread lame or knife.
- Optional: brush with a light layer of olive oil.
- Remove the Dutch oven, lower in the parchment + dough, cover with the lid, and return to the oven. Bake 23–25 minutes.
- Remove the lid. Continue baking 8 minutes, or until the crust is the color you want.
- Check internal temperature. It needs to be at least 200°F. If it isn't, put the lid back on and return it to the oven for a couple minutes at a time until it gets there.
- Dump the loaf onto a cutting board. Let it rest one full hour.
- Cut open and enjoy.
Toast a slice, butter it, and sprinkle salt over it: per Conner, the best way to eat it.
Conner's Foreword
One of the biggest takeaways I've learned about baking bread is that there are many ways to skin a cat. There are so many recipes online that use different techniques, schedules, and even ingredients. Strangely, when you try to follow someone's online recipe it usually takes a couple times to dial in because you have slightly different parameters; your oven doesn't get as hot, you're using a different type/brand of flour, they were baking at a slightly higher elevation, etc.
At this point, my "recipe" is an amalgamation of many online recipes, YouTube videos, and anecdotal advice from Reddit that I've found works well for me and my environment. So this guide's purpose is to distill my procedure as well as explain the 'why' behind certain steps.
In the fashion of the book Salt, Fat, Acid, Heat, we're going to cover certain important elements of the bread making process. Namely: Starter, Gluten, Fermentation, Heat.
Tools
Essential
- Dutch oven: creates a sealed, steamy environment so the crust can't form before the loaf has risen to full size.
- Thermometer: for taking the internal temp of the loaf.
- Digital scale: every good recipe uses grams. Convert to volumetric measurements at your own peril.
- Proofing basket: a banneton, or any small-to-medium mixing bowl a loaf fits snugly into.
Nice to have
- Bread lame: or just a small sharp knife.
- Stand mixer: otherwise your forearms are going to get a good workout.
- Pizza stone or steel: goes on the bottom rack. Blocks direct heat from the elements hitting the bottom of the Dutch oven, which keeps the bottom of the loaf from overcooking into a hard disc.
Starter
The star of the show. It's a mixture of water and flour that over time has begun fermenting. Little yeasts present in dry unbleached flour get mixed with water and start consuming the sugars in the flour, creating carbon dioxide (the bubbles that make the bread rise and give it an airy texture) and alcohol (aka hooch, which gives the bread its sour, tangy taste).
You can get starter from a friend, from a bakery if they're nice, or make it from scratch. Conner and Natalie made theirs from scratch and it took about 3–4 weeks before it was active enough to use.
Making one from scratch
Mix a small amount of unbleached flour and water in equal amounts by mass (20 g each) and stir until combined. Then every day for a month or so, discard all but 20 g of the starter and add 20 g water and 20 g unbleached flour, and mix. Doing this daily supplies your budding starter with a continuous supply of nutrients, letting the yeast reproduce exponentially until it hits maximum capacity. Once it reliably doubles in size ~12 hours after being fed, it's active.
Keeping one alive
If you start with an active starter, you don't need to feed it daily as long as it lives in the refrigerator. You can get away with feeding it as little as once every month or two, but beware it might grow a thick layer of alcohol on top. That's hooch. Just pour it off and feed as usual.
When you're planning to bake, start feeding a couple days ahead to get it roaring again: twice across two days should be plenty. For the feeding the day before you bake, scale up the quantities of starter, flour, and water so you have enough for the number of loaves you're making plus enough left over to keep the starter going. You don't need much spare: account for maybe 30 g to be safe.
Gluten
Gluten is a network of proteins that gives dough its elasticity and strength. Much of what you do throughout the process (mixing, kneading, stretching and folding, or a "no knead" approach) is ultimately about developing that protein structure. The more gluten there is, the less opportunity for the CO2 created by fermentation to escape, which means airier, more risen dough. The tradeoff: as you develop gluten, the dough gains resistance and gets a little harder to work with.
Flour choice
Bread flours and whole wheat flours naturally have higher gluten than all-purpose, which in turn has more than something like rye. Conner typically prefers all-purpose: the lower gluten content makes it easier to stretch and fold, which makes it easier to incorporate jalapeños and cheddar. For your first ever bake, use all-purpose.
Autolyse
Your first opportunity to build gluten. Mix together just the flour and water that form the base of your dough (not the starter) and let it sit at least an hour, preferably longer like 4–5 hours. This allows full absorption of water into the flour and begins gluten development. Anecdotally, the most impactful thing about autolysing is that your dough becomes super easy to work with, stretchy, and pliable.
Then starter, then salt
After autolyse, mix in your starter. You're letting all the hungry yeasts loose on the dough, and they go to town on the sugars producing CO2 and alcohol. Give it ~30 minutes to get rolling unimpeded. If you tasted it now, it'd be yeasty like beer, and obviously missing something.
That something is salt. Add it after the dough has had time to familiarize with the starter, mix again, and let sit another 30 minutes.
Stretch and folds
At this point the dough has gluten but no real structure. Cut it in half and the cross-section would look lumpy and chaotic. Stretch and folds fix that. A "round" means folding the dough in half four times, rotating 90 degrees after each fold.
Stretching elongates the existing fibers; folding lays those elongated fibers down in a specific direction. Rotate 90 degrees and repeat, and you're building another layer of structure perpendicular to the last. Do this over and over and you end up with a highly organized lattice of woven fibers crossing over each other: think of an intricate flannel pattern, lines crossing in a bunch of directions. That lattice is what stops gas bubbles from escaping and lets your bread rise.
Shaping
Cut the dough into two equal pieces. Conner usually makes boules (a round loaf), so shaping means rolling each ball into a taut circular shape, building tension across the outer surface. Repeat the tension pull enough times that the outside looks smooth and tight. One side will have a seam; that's the underside. Place the seam down on the counter, lightly sprinkle the top with flour, and cover with a tea towel for 30 minutes.
Fermentation
All the gluten-building steps also involve fermentation, since the yeasts are feasting the whole time: that stretch is usually called bulk fermentation. Once your dough balls are shaped, you move on to proofing.
Move the taut dough balls into bannetons or similar bowls lined with tea towels, dusting a light layer of flour on the towel first. You may notice a seam on the bottom of the ball: pinch that seam closed as best you can.
Then into the fridge for 12 hours or so, usually overnight. During this time the ball grows as the yeast puts off gas.
Heat
When you pull the dough out of the fridge in the morning, it won't be the final size it'll be after baking. You get that final size through heat.
Preheat to 500°F with the Dutch oven inside for one full hour. Preheating with the Dutch oven in there means that when the bread goes in, you get really good oven spring: the vertical growth induced by immediate application of high heat.
When the preheat is done, lay out parchment paper and sprinkle cornmeal (or semolina, or another granular, textured ingredient). Make the sheet large enough that you can pick up all four corners with the dough ball in it and lower it into the Dutch oven.
Scoring
Score the top with a lame or knife. This is where you can exercise your artistic talents; Conner usually keeps it simple.
The two-stage bake
Stage one: lid on. This traps the steam given off by the dough and keeps the environment moist, which prevents the crust from forming too early. For jalapeño cheddar loaves this is usually 35 minutes; for a plain loaf, estimate 23–25 minutes.
When you take the lid off, the outer surface should look white and not crispy. That's exactly what you want: it means moisture was maintained and the bread was allowed to rise without forming a crust too early.
Stage two: lid off. Back in for 8 minutes. At the end, check whether the crust has the color you want. Want more? Leave it longer.
When it reaches the color you want, pull it and stab it with a thermometer. Internal temp needs to be at least 200°F. If it isn't quite there, put it back in with the lid on, which preserves the doneness of the crust while the inside catches up.
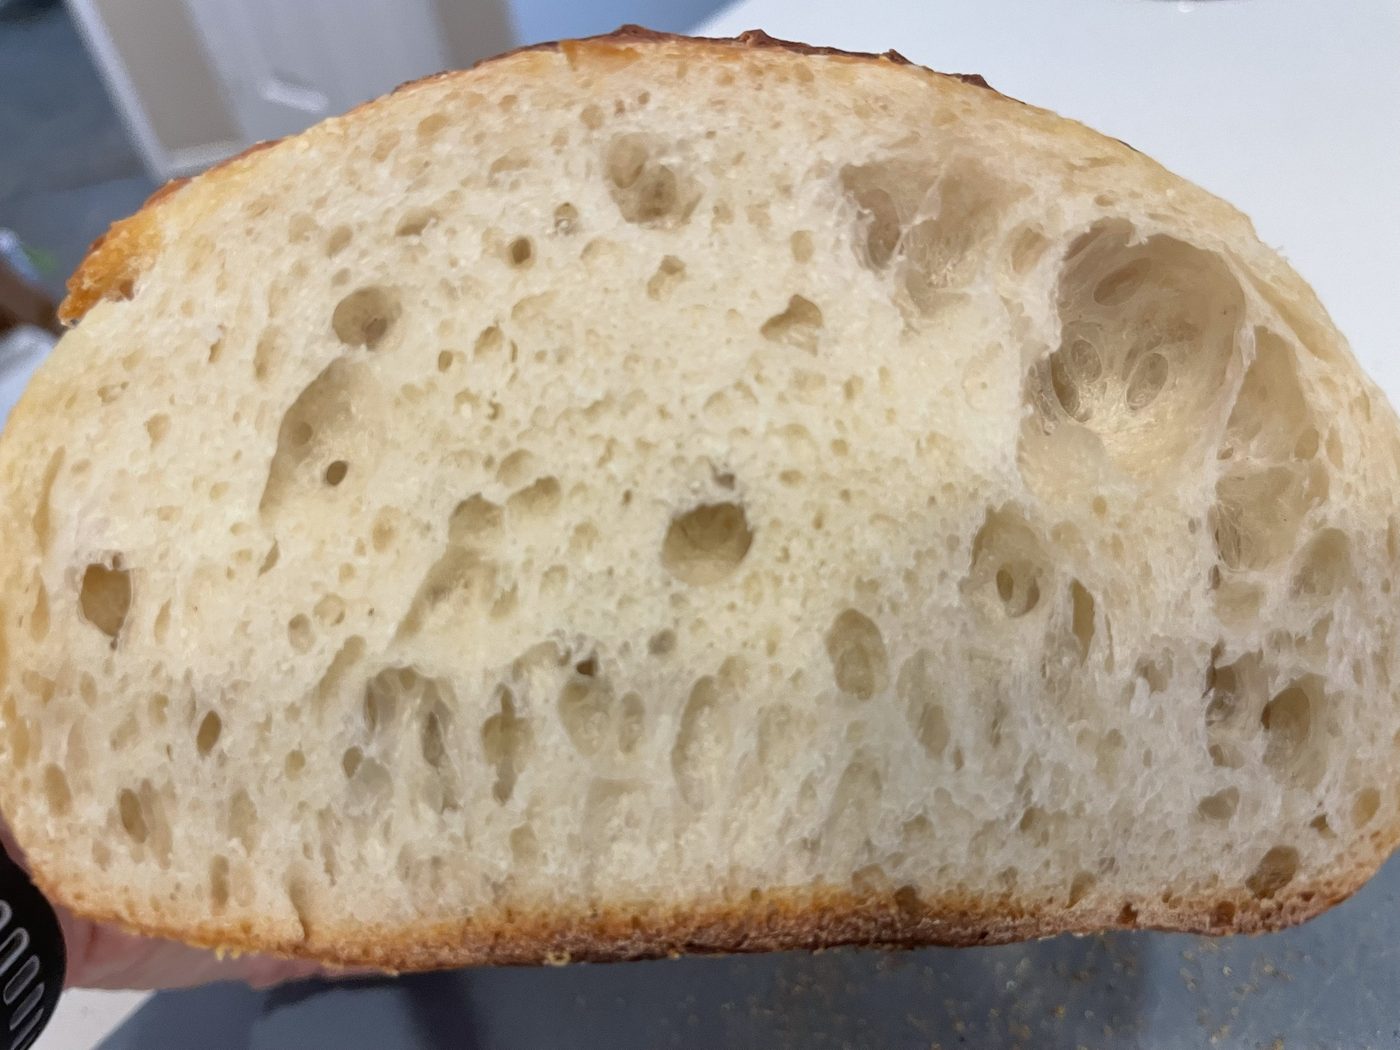
After that hour, cut into the loaf and eat away. Toast a slice, butter it, and sprinkle salt over it to enjoy it in the best way possible.
Recipe and guide by Conner & Natalie. Thanks for letting me share it.